Welcome to your Mermaid Paint Club step-by-step guide for painting the Funky Pumpkin! Below you’ll find the supply list and easy instructions to help you create your very own Funky Pumpkin masterpiece.
I can’t wait to see your Funky Pumpkins! Post your painting and tag me @mermaidpaintclub #mermaidpaintclub
Supplies You’ll Need
- Canvas
- Brushes:
- Flat Brush
- Round Brush
- Liner Brush
- Paint Colours:
- White
- Black
- Light Blue
- Dark Blue
- Turquoise
- Orange
- Paper Plate – Mix your paints on your paper plate to explore fun new shades.
- Surface Protection – Use the plastic wrapping of your kit if you bought one.
- Add a Cup of Water
Get Ready to Create
Before you start painting, take a little time to create a cosy, creative space for yourself. Painting isn’t only about the finished piece—it’s also about nurturing your wellbeing while you create.
- Light a candle or play some music (see me playlist below)
- Lay out your supplies so everything is within reach
- Protect your space – cover your table with newspaper or an old cloth.
- Keep water & snacks handy – stay refreshed while you paint.
Before you dip your brush in paint, take a pause for yourself:
- Breathe deeply – Inhale slowly through your nose for 4 counts, hold for 2, then exhale through your mouth for 6 counts. Repeat a few times to settle your mind.
- Gentle stretch – Roll your shoulders, circle your wrists, or stretch your arms overhead to release any tension.
- Notice your posture – Sit comfortably, feet flat on the floor, and let your body feel supported. Move lots through out as you can get stiff sat for too long.
- Set an intention – Whether it’s to relax, to play, or to simply enjoy the colors, give yourself permission to just be in the moment.
Step-by-Step Instructions
This guide will walk you step by step through creating a vibrant seasonal pumpkin artwork. Remember—there’s no right or wrong in art. Play with the colors, experiment with textures, and most of all, have fun while painting. Each step is just a suggestion to guide your creativity, so feel free to make the piece your own!
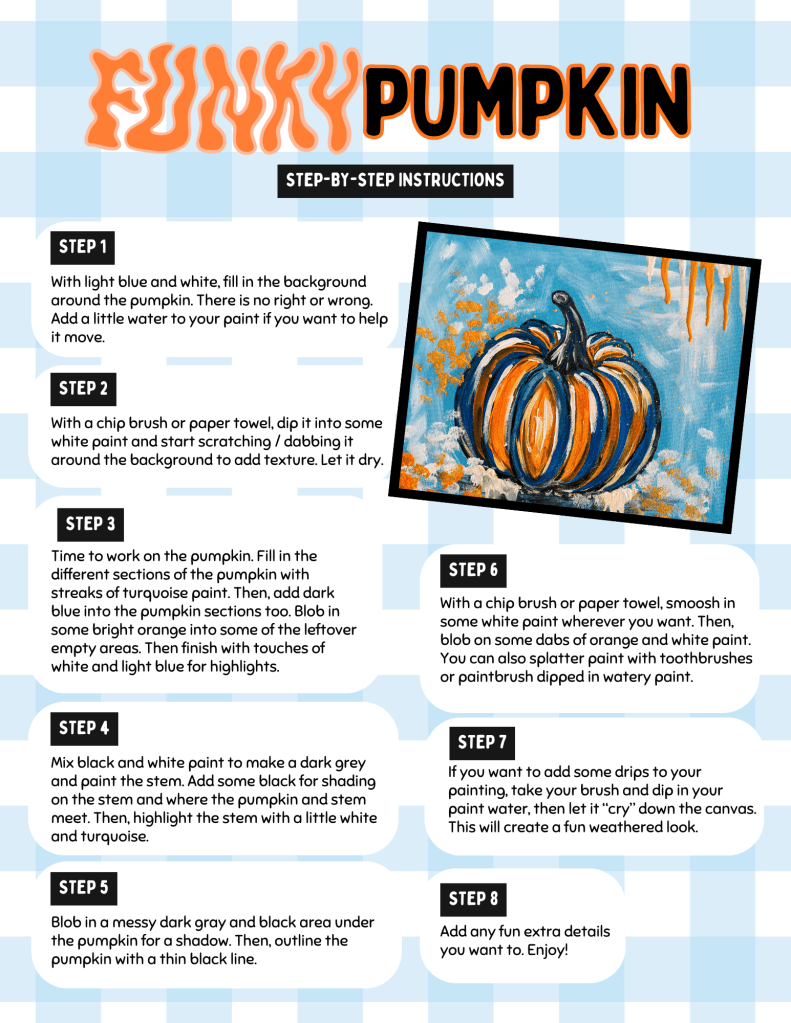
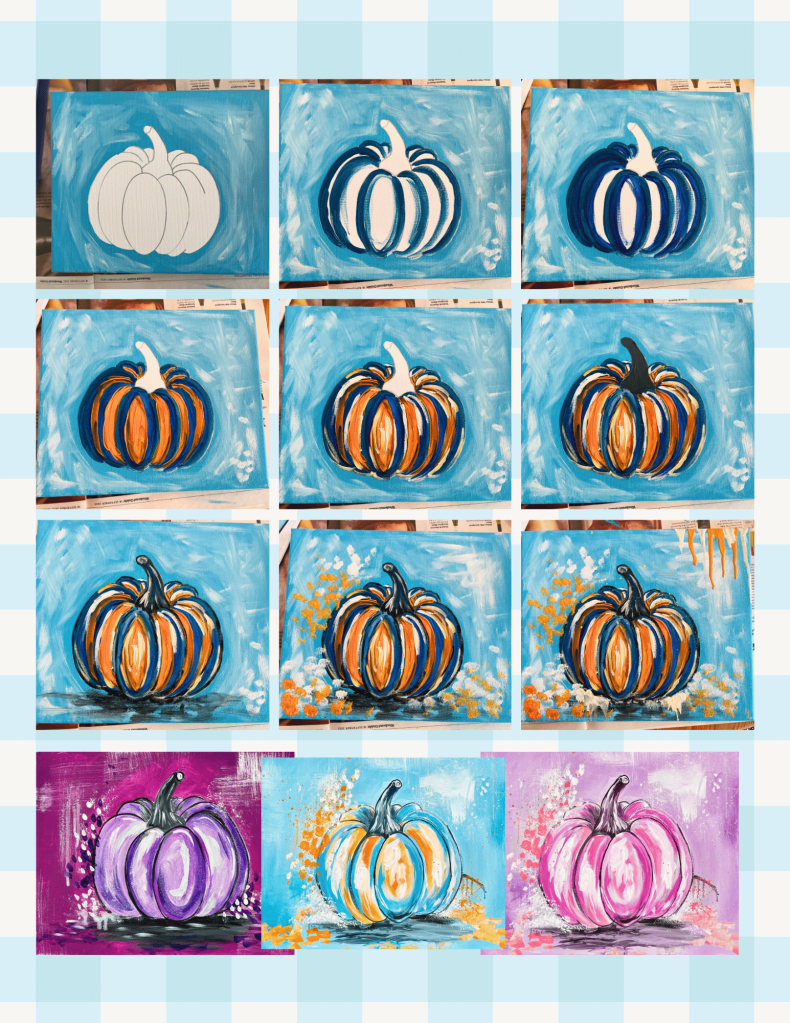
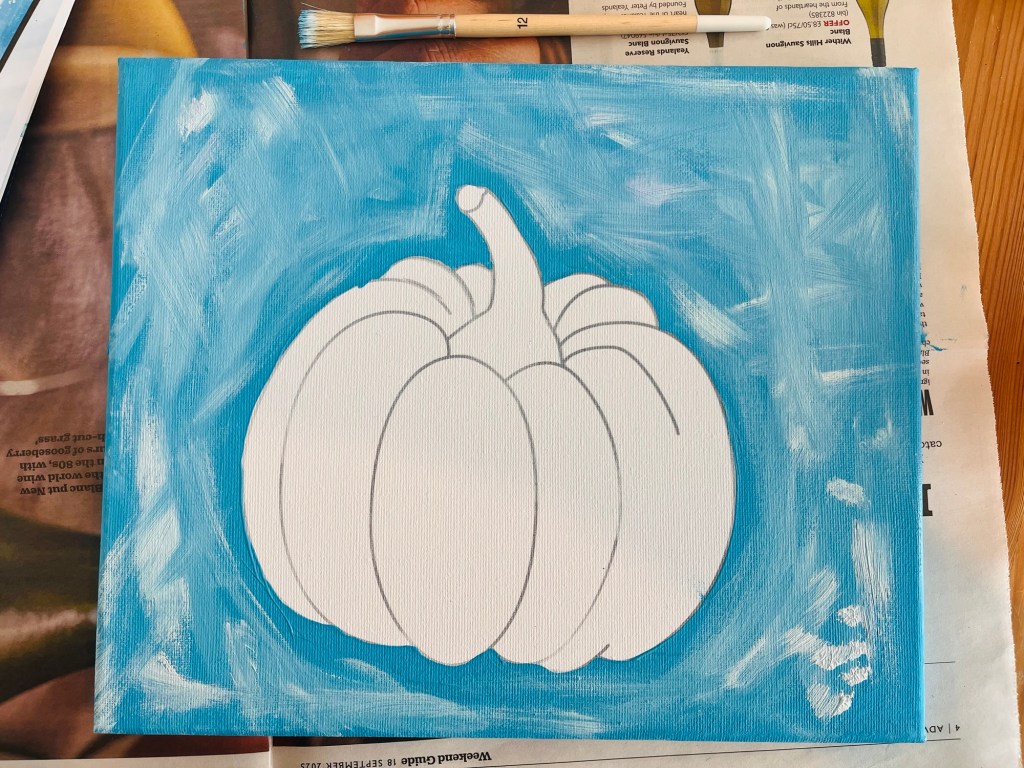
Step 1 – Background
With some light blue and white, fill in the background around the pumpkin. There is no right or wrong. Add a little water to your paint if you want to help it move.

Step 2 – Add Texture
With a chip brush or scrunched up paper towel, dip it into some white paint and start scratching / dabbing it around the background to add texture. Let it dry.
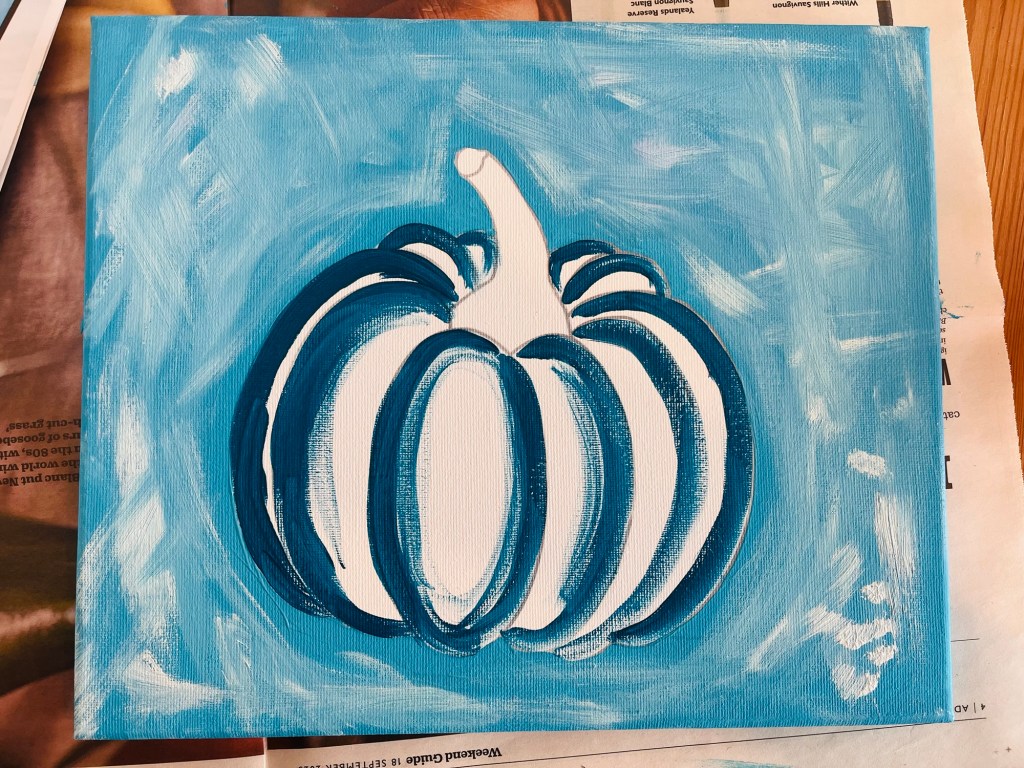
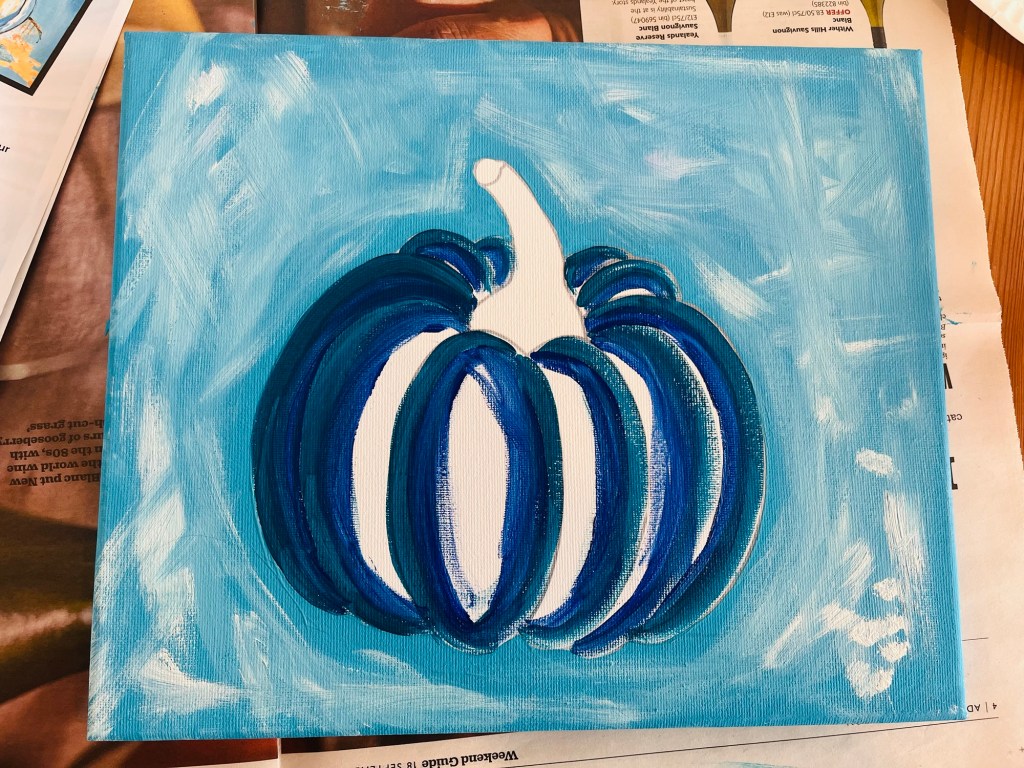
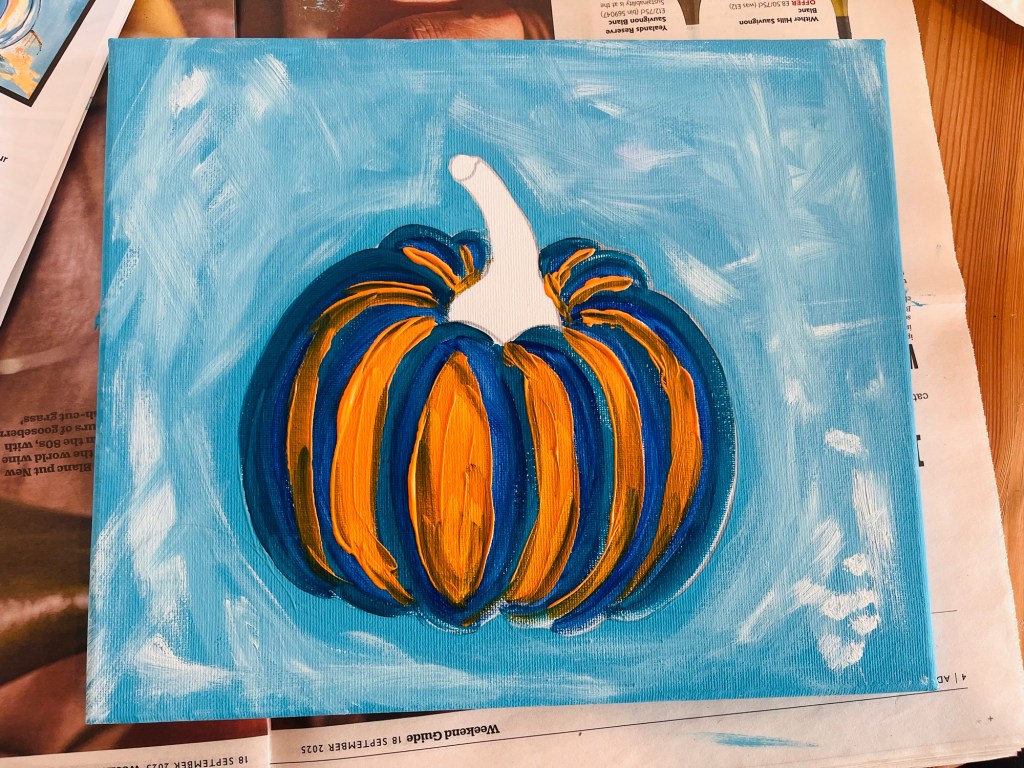
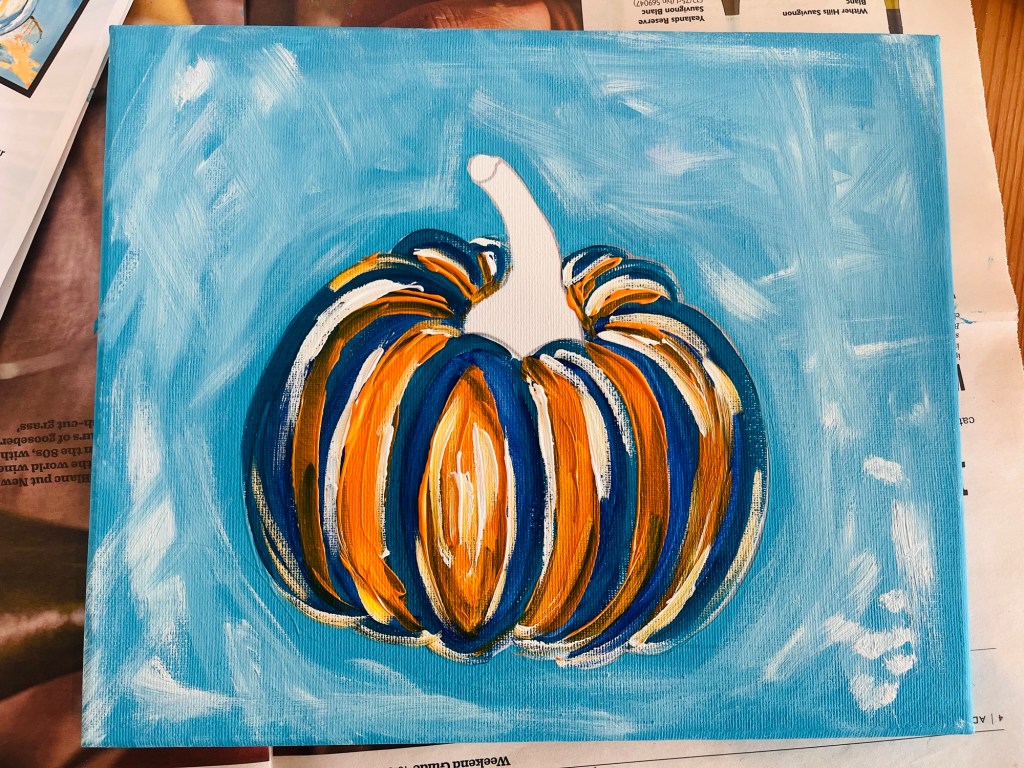
Step 3 – Pumpkin Time
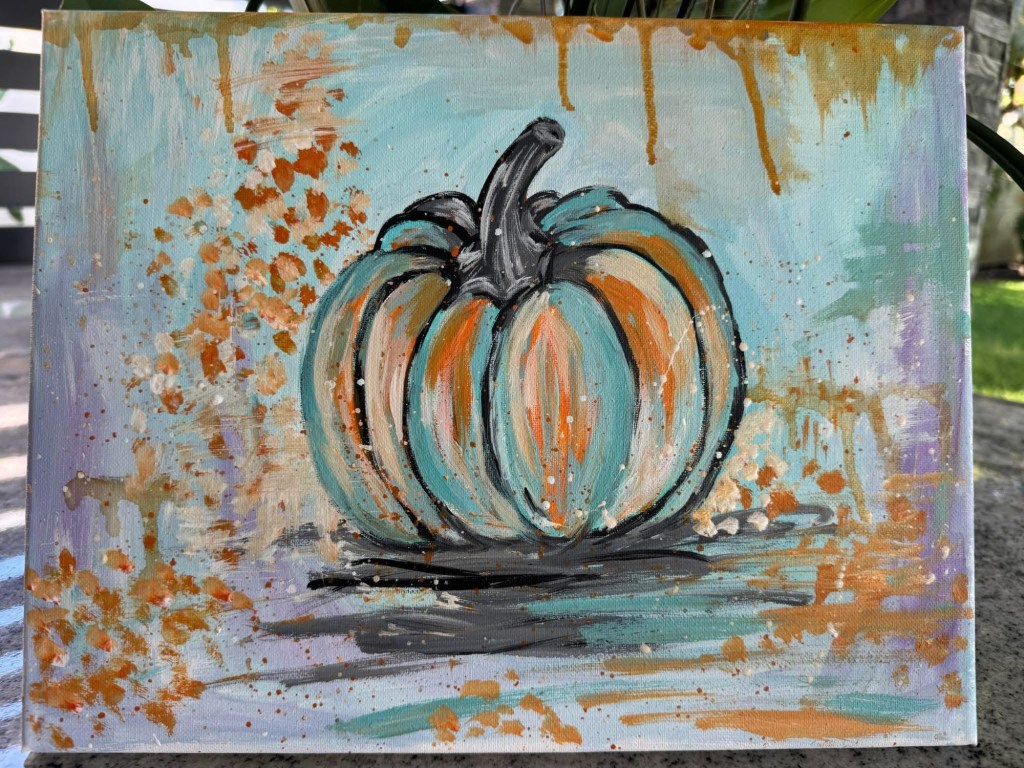
Time to work on the pumpkin. Fill in the different sections of the pumpkin with streaks of turquoise paint. Then, add dark blue into the pumpkin sections too. Blob in some bright orange onto some of the leftover empty areas. Then finish with touches of white and light blue for highlight.
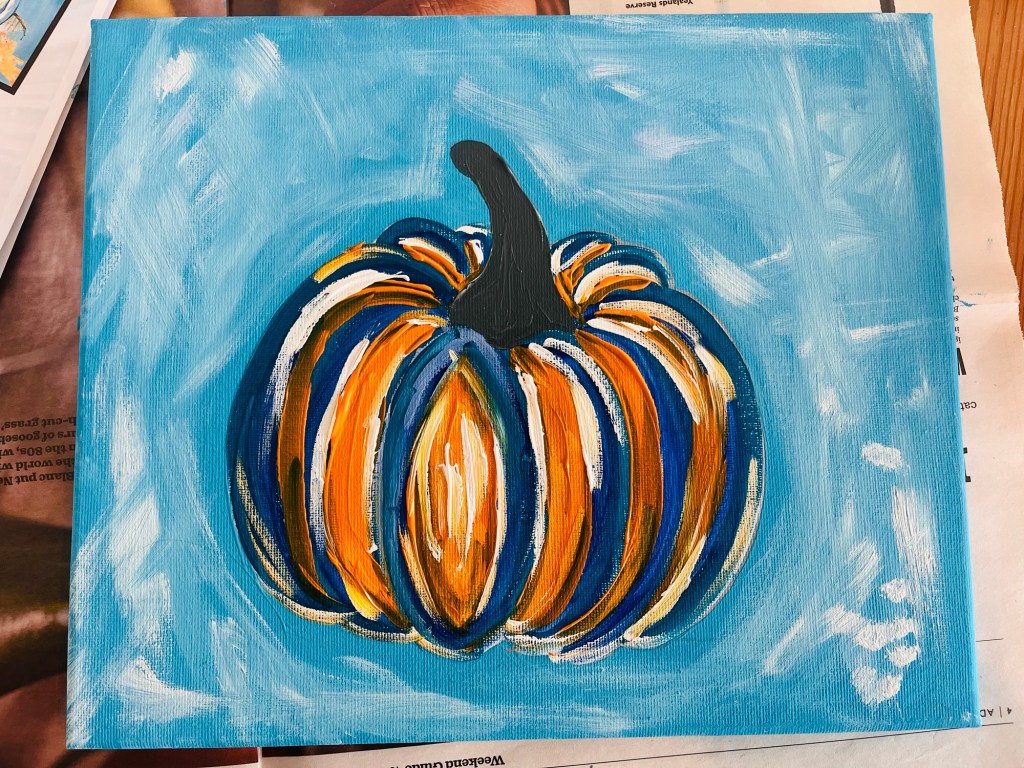
Step 4 – Stem
Mix black and white paint to make a dark grey and paint the stem. Add some black for shading on the stem and where the pumpkin and stem meet. Then, highlight the stem with a little white and turquoise.
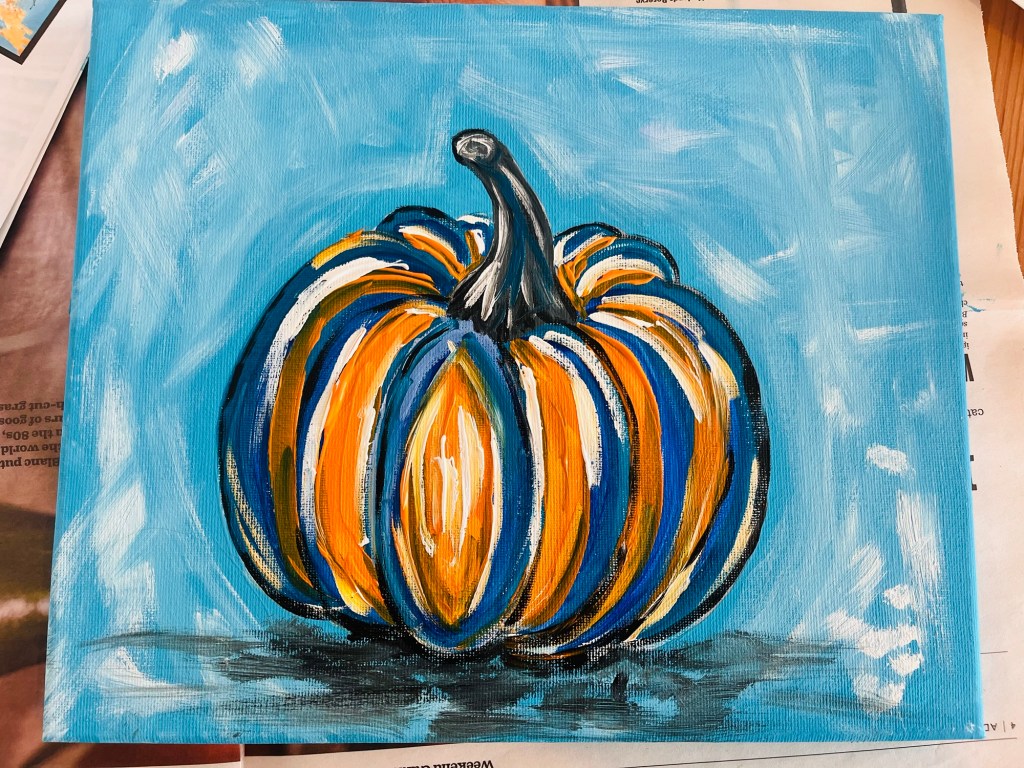
Step 5 – Dark Highlights
Blob in a messy dark grey and black area under the pumpkin for a shadow. Then, outline the pumpkin with a thin black line.
Step 6 – Background Texture
With a chip brush or paper towel, smoosh in some white paint wherever you want. Then, blob on some dabs with a round brush with orange and white paint. You can also splatter paint with a toothbrush or paintbrush dipped in paint. Make the paint quite watery.
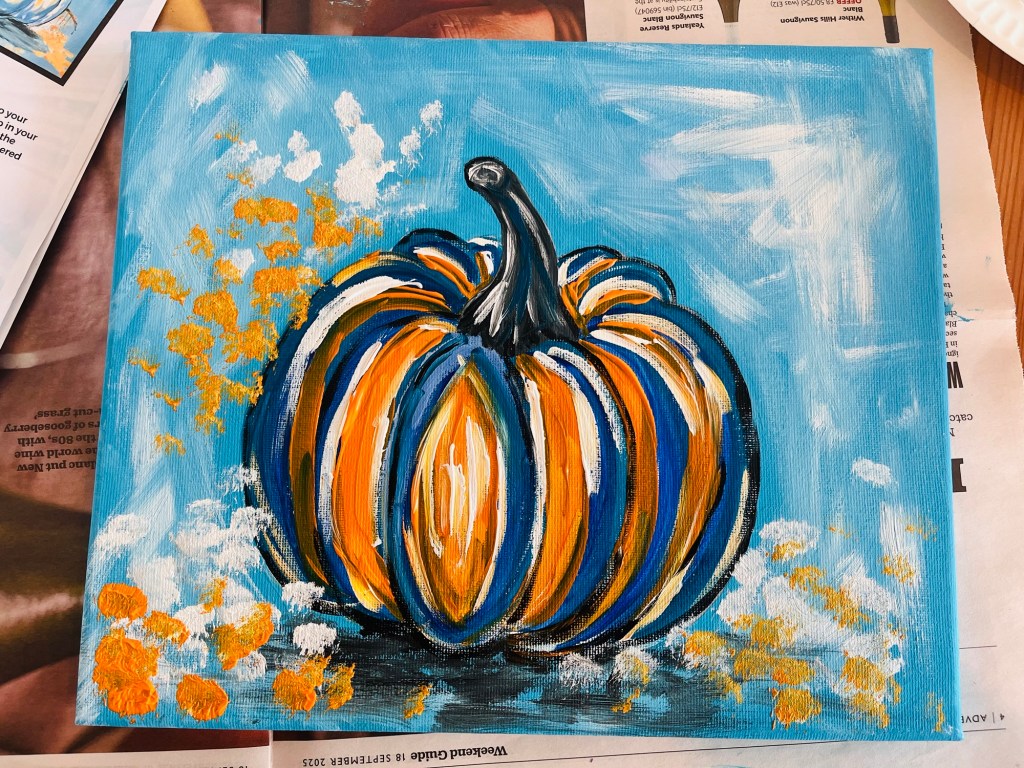
Step 7 – Adding Drips
If you want to add some drips to your painting, take your brush and dip in your paint water, then let it “cry” down the canvas. This will create a fun weathered look.

Step 8 – Add any fun extra details you want to. Enjoy!

✨ Great job – you’ve painted your very own Funky Pumpkin!
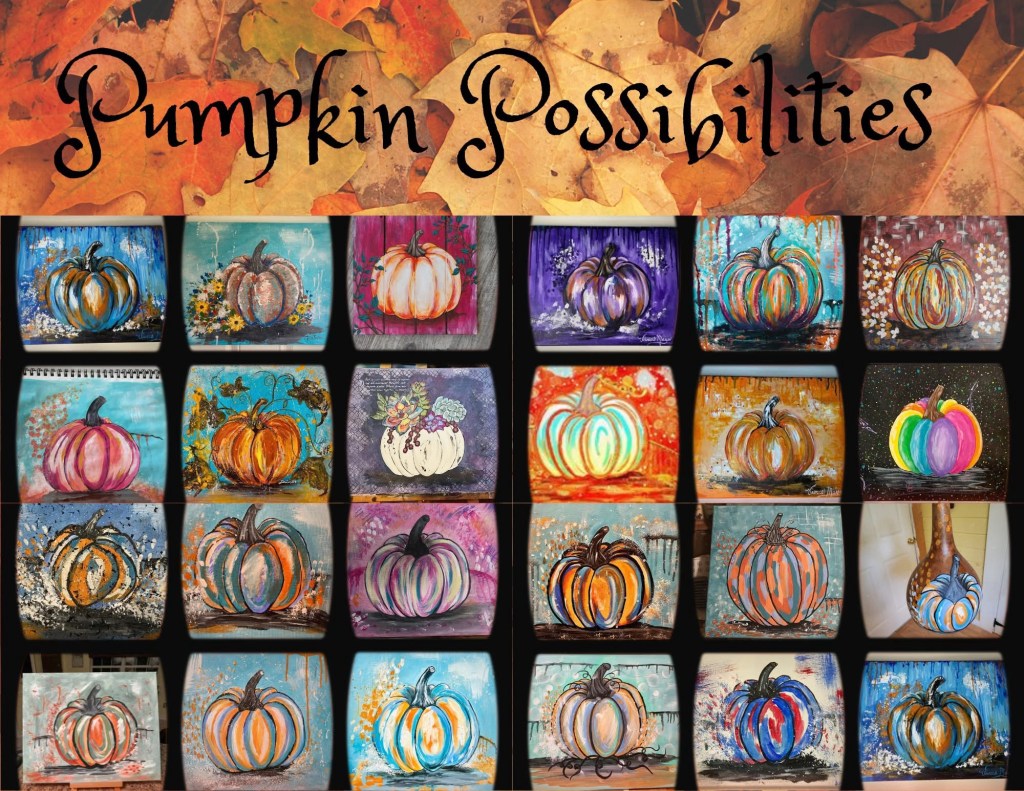
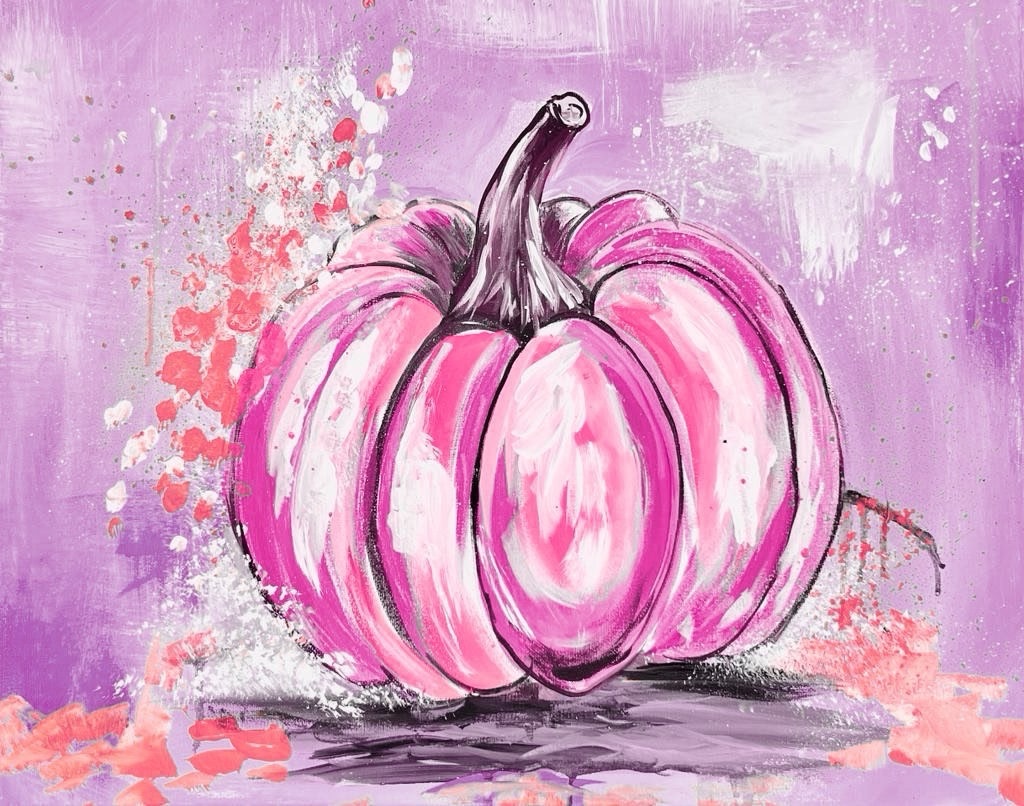
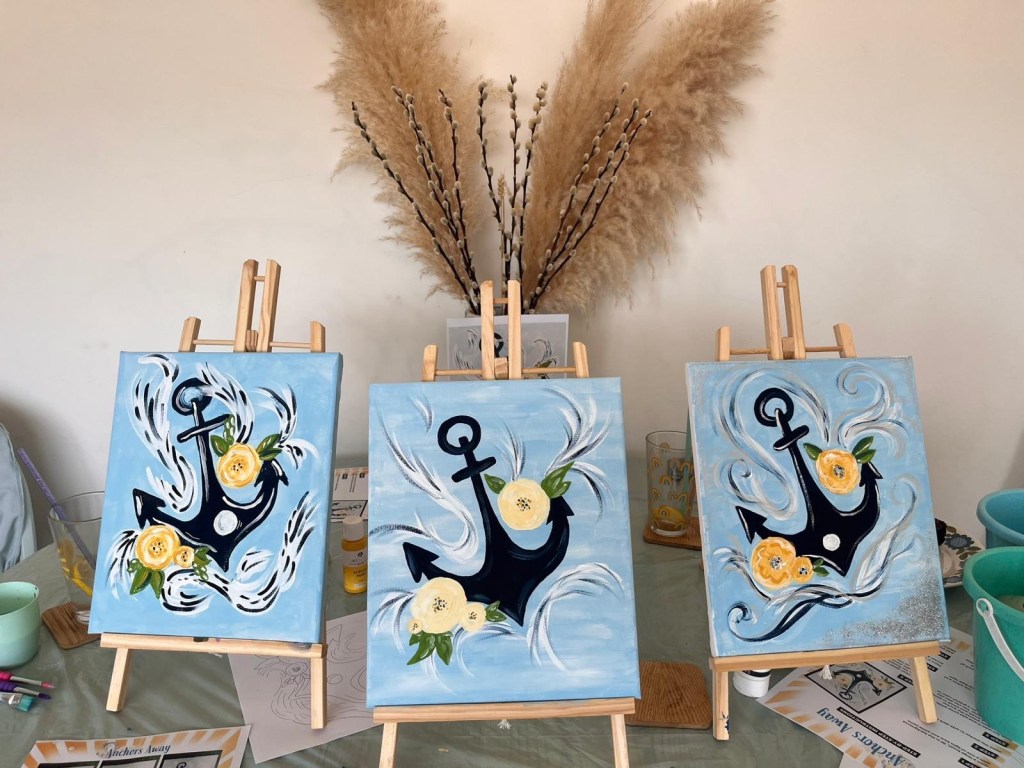
Funky Pumpkin Gallery