Welcome to your Mermaid Paint Club step-by-step guide for painting the Moonlit Owl! Below you’ll find the supply list and easy instructions to help you create your very own Owl Themed masterpiece.
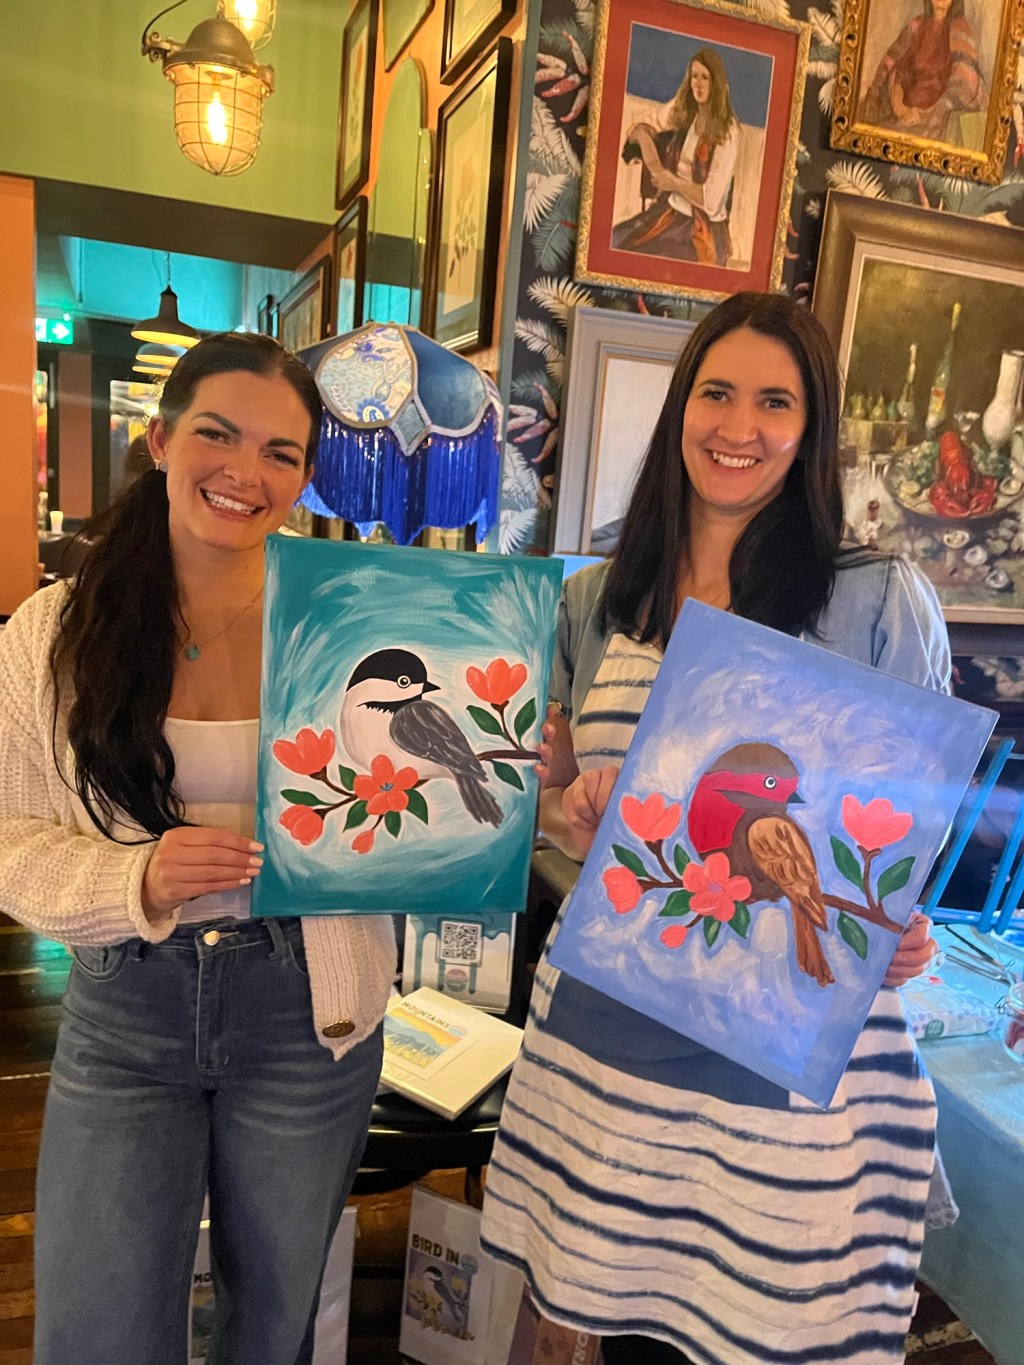
I can’t wait to see your cute owls! Post your painting and tag me @mermaidpaintclub #mermaidpaintclub
Supplies You’ll Need
- Canvas
- Brushes:
- Flat Brush
- Round Brush
- Liner Brush
- Paint Colours:
- White
- Black
- Light Blue
- Dark Blue
- Turquoise
- Orange
- Paper Plate – Mix your paints on your paper plate to explore fun new shades.
- Surface Protection – Use the plastic wrapping of your kit if you bought one.
- Add a Cup of Water
Get Ready to Create
Before you start painting, take a little time to create a cosy, creative space for yourself. Painting isn’t only about the finished piece—it’s also about nurturing your wellbeing while you create.
- Light a candle or play some music (see me playlist below)
- Lay out your supplies so everything is within reach
- Protect your space – cover your table with newspaper or an old cloth.
- Keep water & snacks handy – stay refreshed while you paint.
Before you dip your brush in paint, take a pause for yourself:
- Breathe deeply – Inhale slowly through your nose for 4 counts, hold for 2, then exhale through your mouth for 6 counts. Repeat a few times to settle your mind.
- Gentle stretch – Roll your shoulders, circle your wrists, or stretch your arms overhead to release any tension.
- Notice your posture – Sit comfortably, feet flat on the floor, and let your body feel supported. Move lots through out as you can get stiff sat for too long.
- Set an intention – Whether it’s to relax, to play, or to simply enjoy the colors, give yourself permission to just be in the moment.
Step-by-Step Instructions
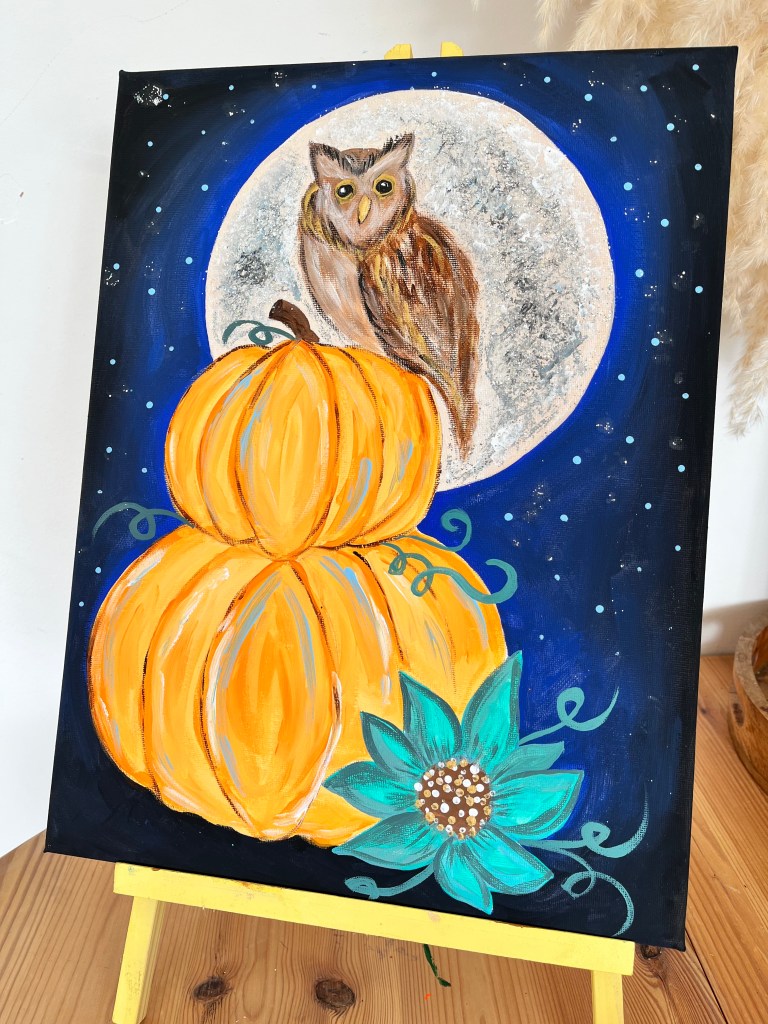
Welcome to your Moonlit Owl painting! We’ll be blending rich autumn tones and moonlight to create a cosy, magical scene featuring a wise owl perched on a glowing pumpkin. Whether you’re painting for fun, relaxation, or creativity, remember: there’s no right or wrong way to paint—just enjoy the process and let your imagination take flight.
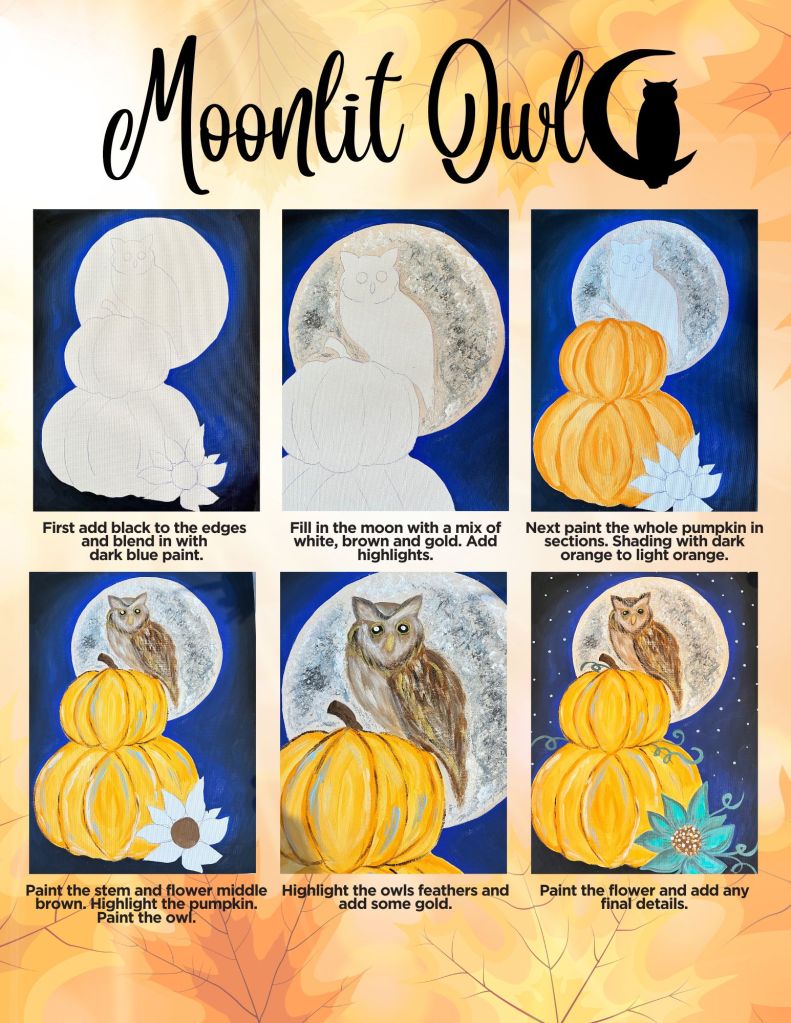
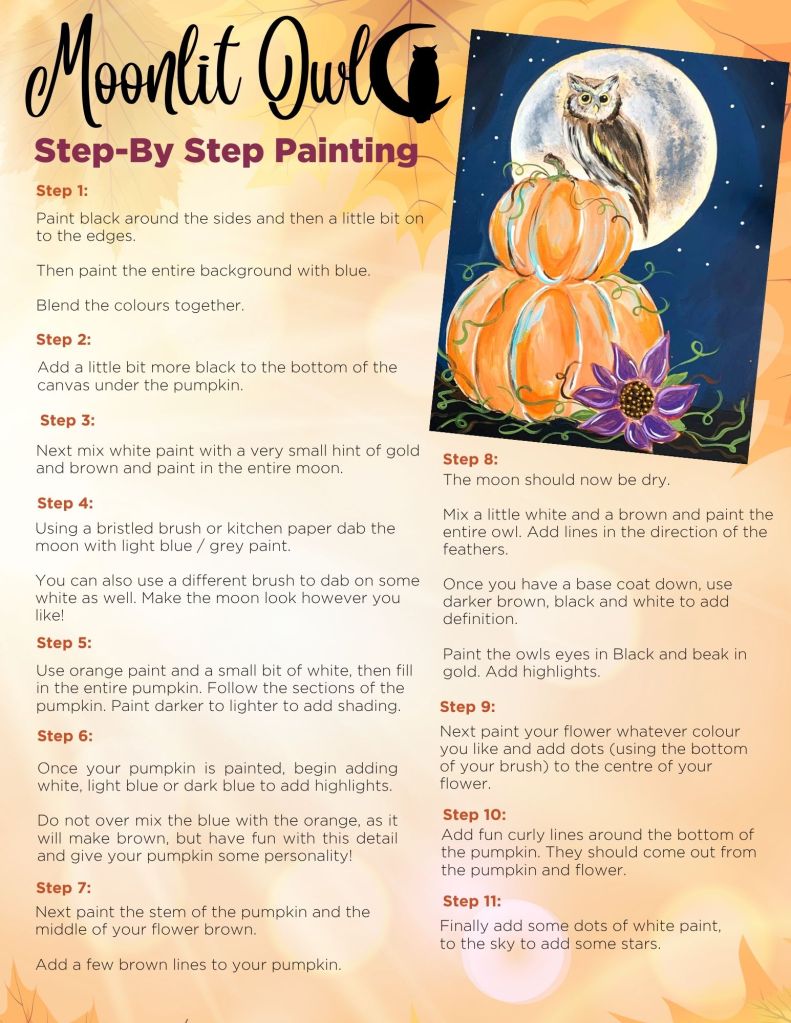
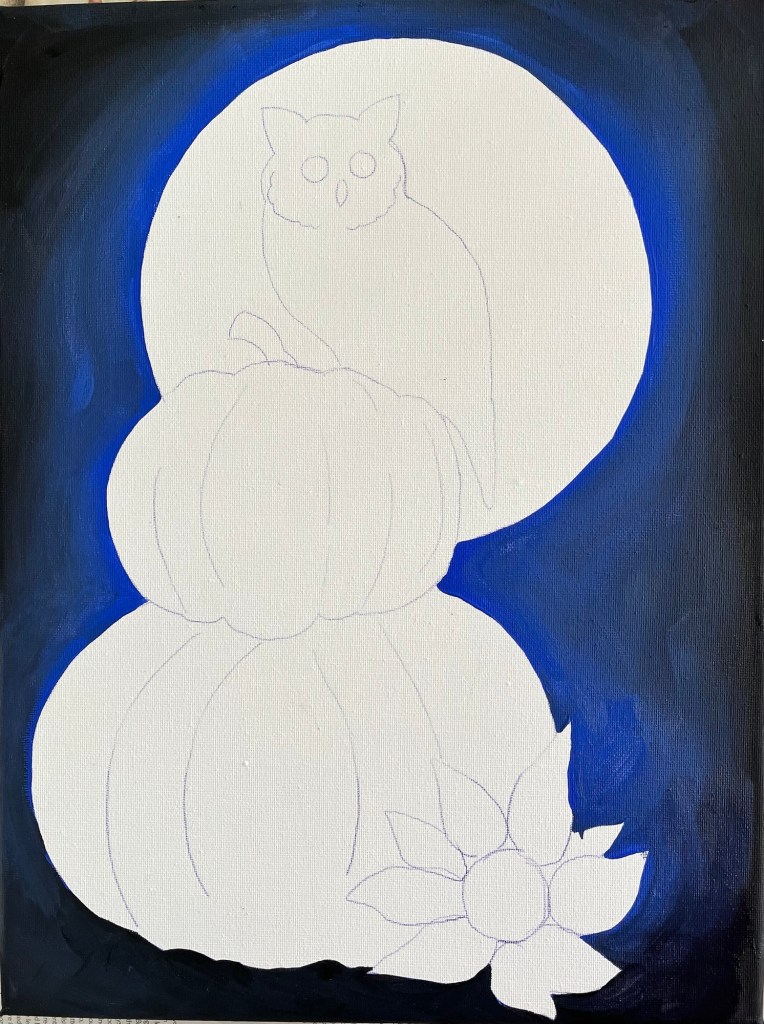
Step 1 – Background
- Begin by painting blue around the sketched image on tour canvas and softly blending it outwards. (You can start with the blue or black, this is up to you)
- Fill the rest of the background in with black paint, blending where the two colours meet to create a smooth, night-sky effect.
- Add a little extra black to the bottom area beneath the pumpkins for depth and shadow.
Step 2 – Paint the Moon
- Mix a small amount of white paint with just a touch of gold and brown, then fill in the moon.
- Using a bristled brush or a piece of kitchen paper, lightly dab on some grey or light blue to add texture and craters.
- You can also dab in extra white for highlights. Don’t worry about perfection—each moon has its own magic!

Step 3 – Pumpkin Time
- Using orange paint and a touch of white, fill in the pumpkin shapes section by section.
- Add shading by blending from dark to light—use more orange for shadows and lighter tones for highlights.
- Avoid overmixing blue from the background into your pumpkin, or it will turn brown.
- Let your brushstrokes bring out the pumpkin’s personality!

Step 4 – Stem
Paint the pumpkin stems and the flower centre with brown.
Step 5 – Paint the Owl
- Once the moon is dry, mix a little white and brown to paint your owl’s base coat.
- Follow the natural direction of the feathers with your brush strokes.
- Layer on darker browns, black, and white to build texture and definition.
- Paint the owl’s eyes black and add golden highlights to bring it to life. Add a touch of gold to the beak too.
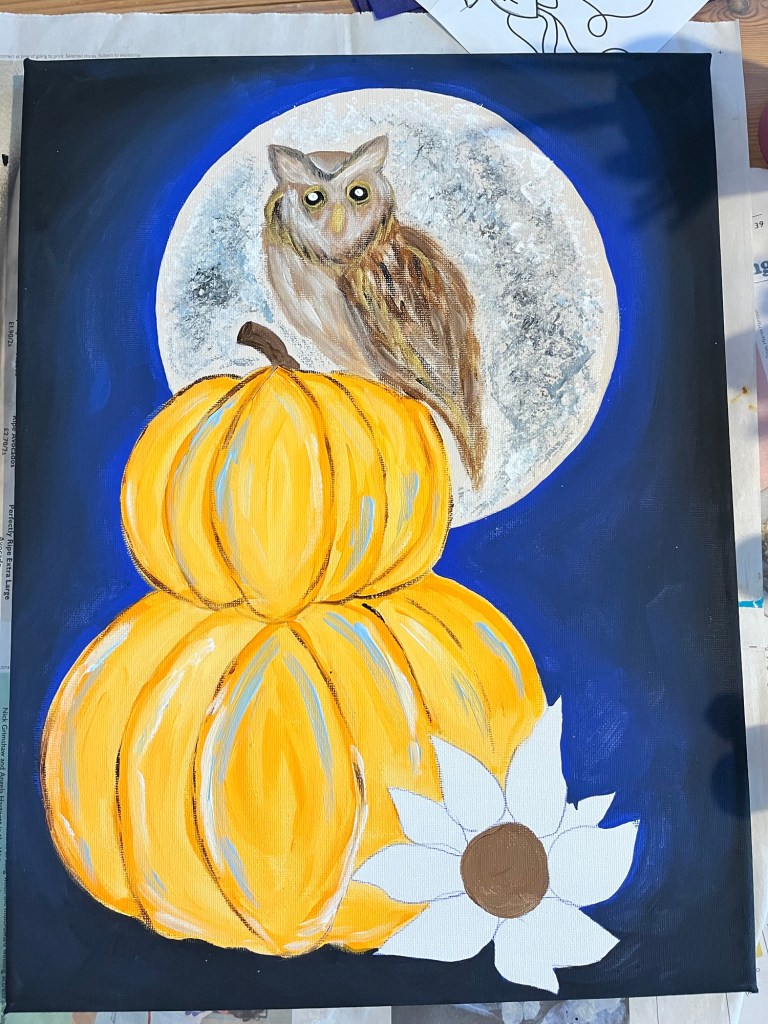
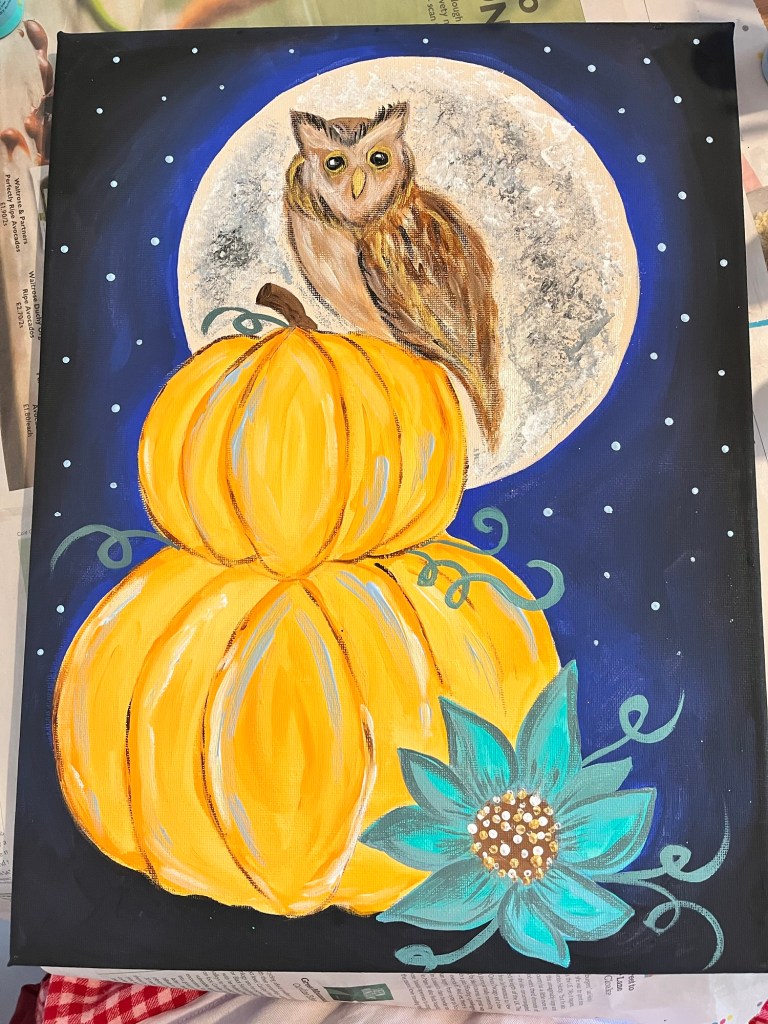
Step 6 – Add the Flower
Choose your favourite colour for the flower petals and paint them in.
Using the bottom of your brush, dot a few accent colours into the centre for added texture and charm.
Step 7 – Finishing Touches
Add fun, curly vines flowing from the pumpkin and flower to tie your composition together.
Finally, dip a small brush or the end of your handle into white paint and dot tiny stars into the night sky for a dreamy, moonlit finish.
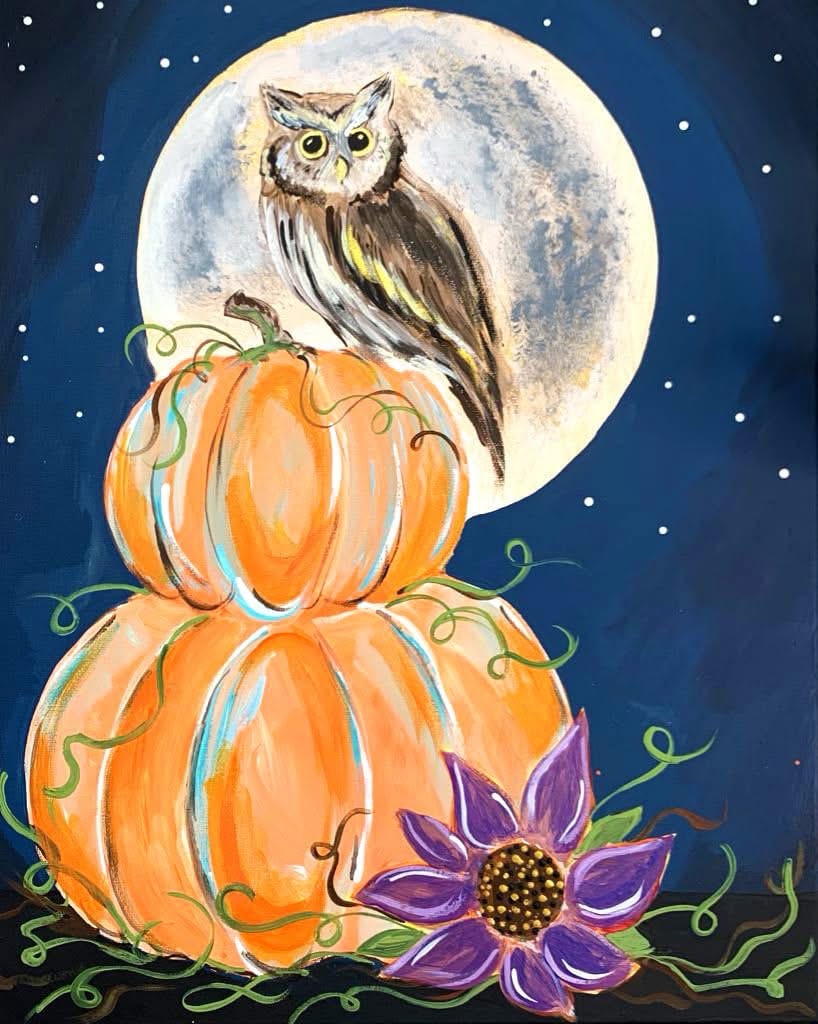
Step back and admire your masterpiece! Each Moonlit Owl painting is unique—just like you. Don’t worry about perfect lines or shapes; the beauty lies in the textures, colours, and your creative expression.
Take a moment to appreciate your work and the calm, creative energy you’ve brought to life under the glowing moon.